
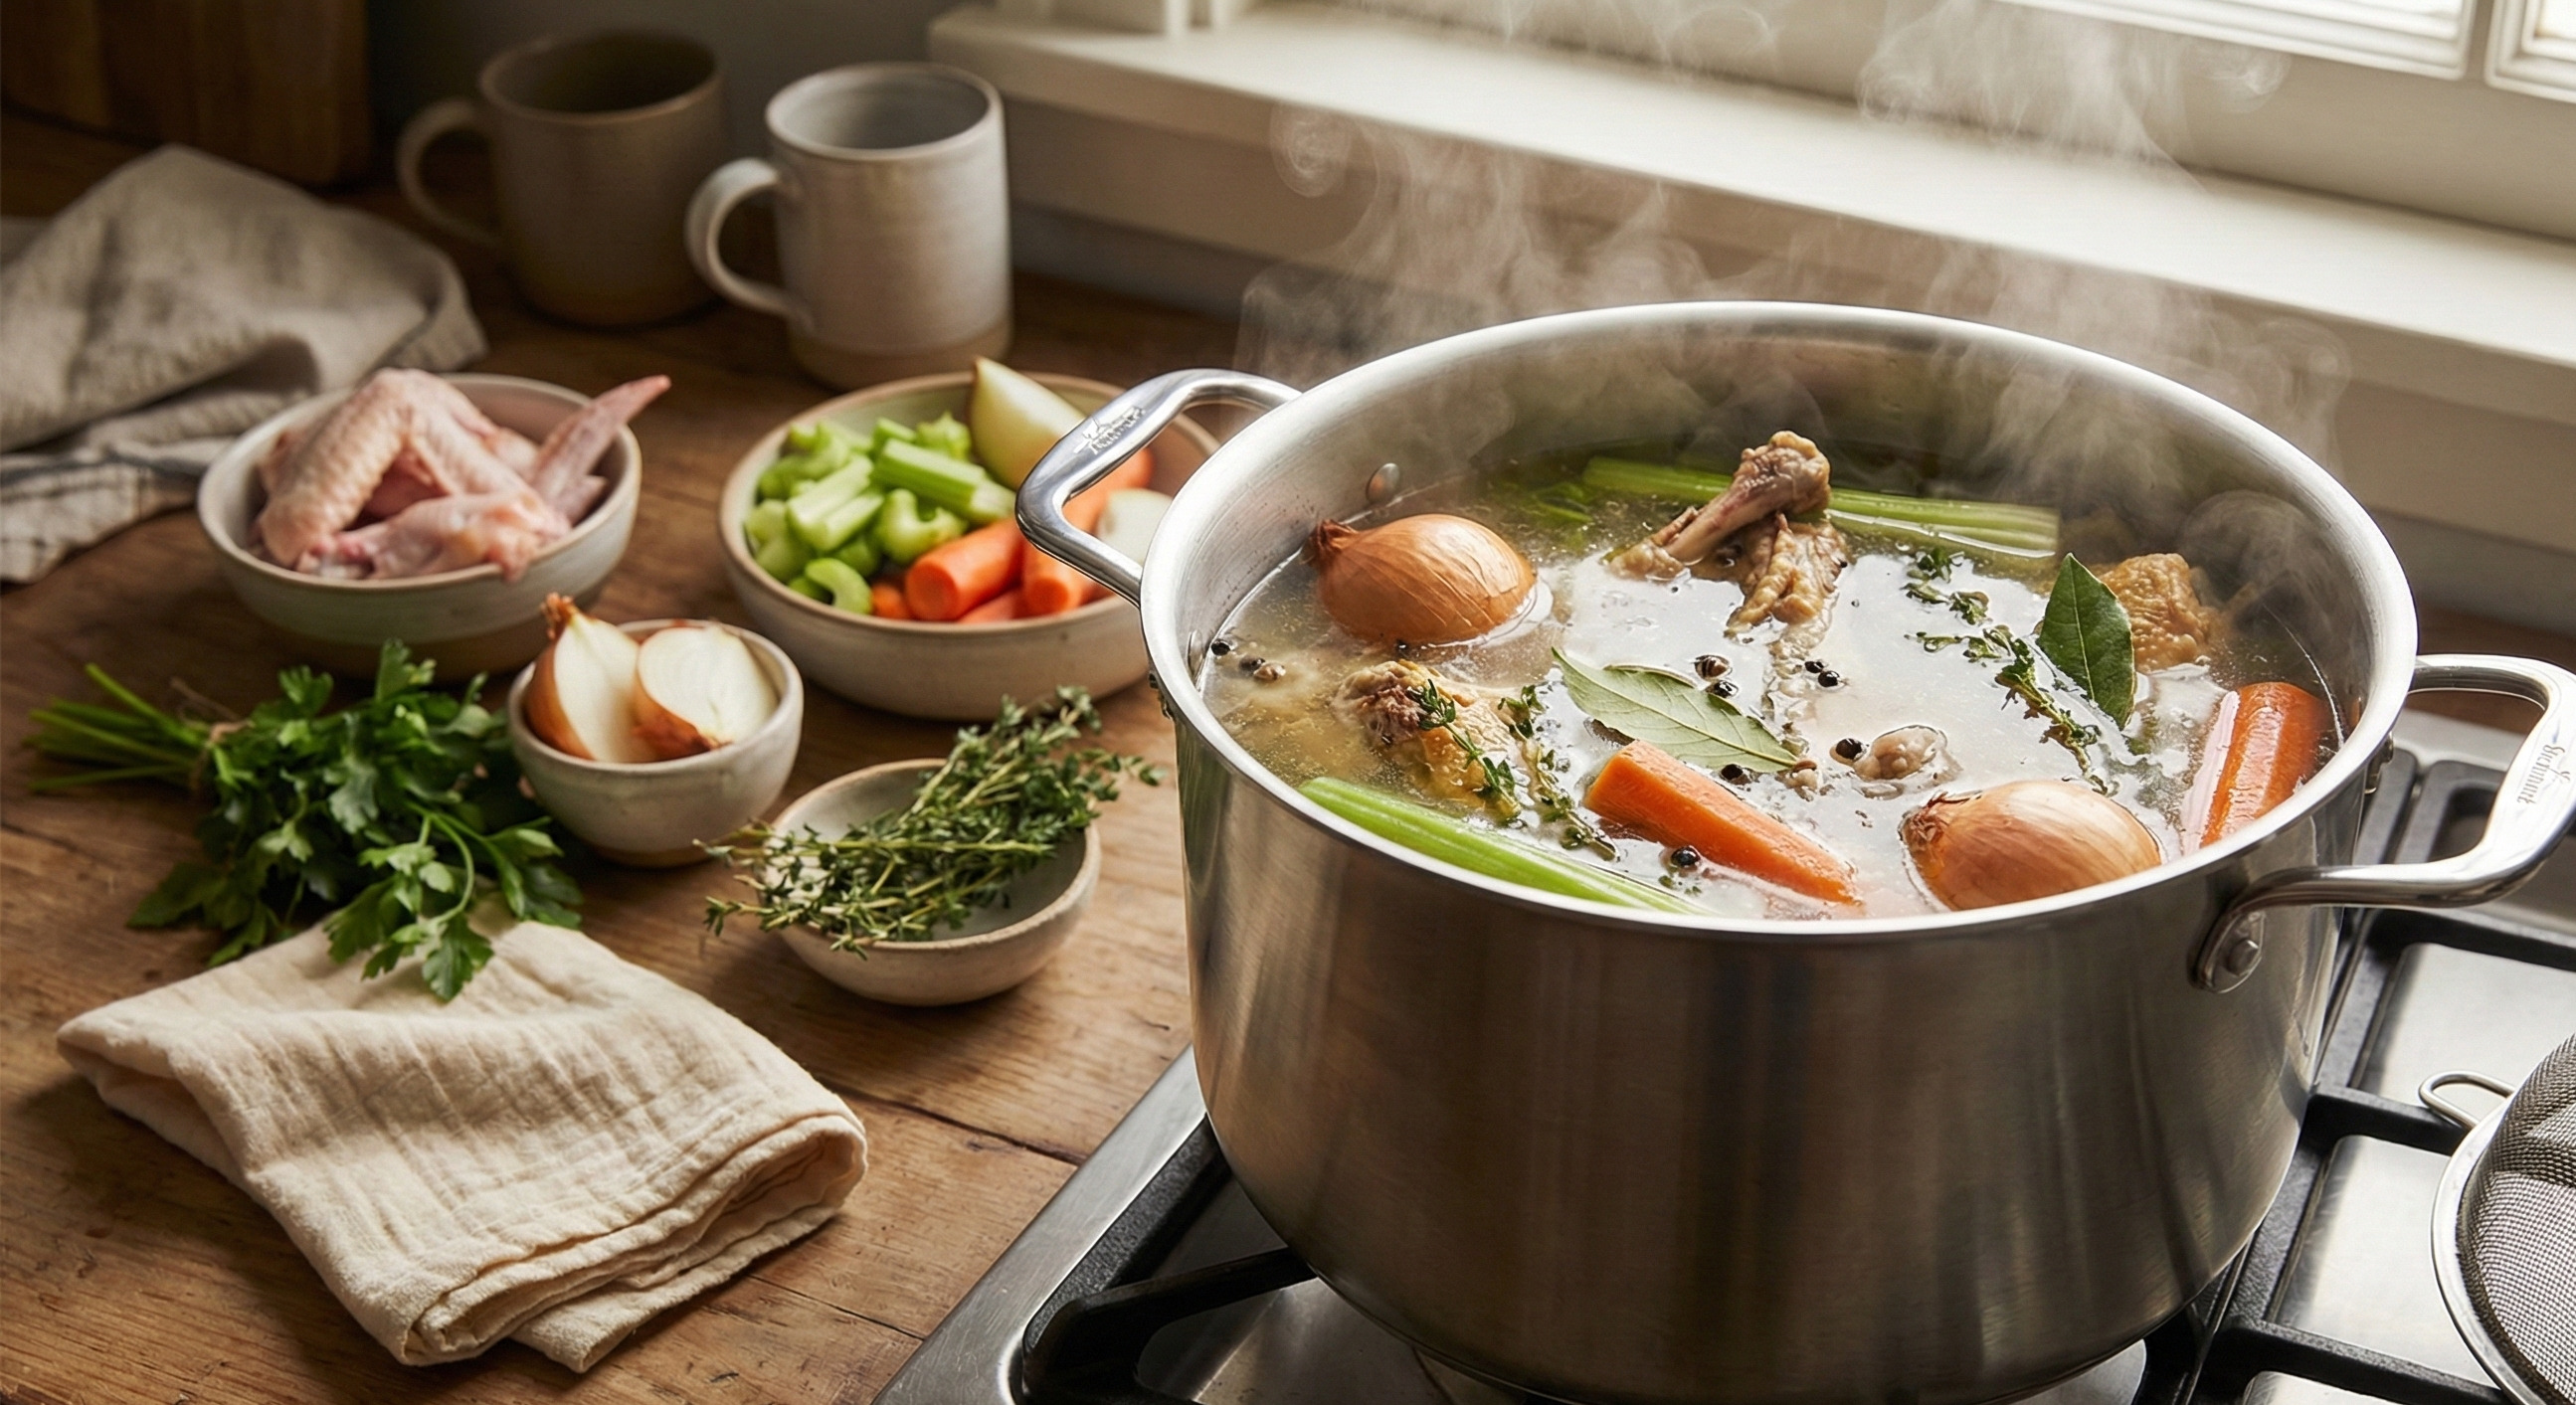
Kitchen 101

How to Make Classic Chicken Stock – The Foundation of Great Cooking

"If you can boil water, you can make stock." Master the art of creating nourishing 'liquid gold' at home.

Prep time

15 Minutes

Cook time

1 Hour

Yields

Approx. 1.5–2 litres

Level

Beginner

Introduction

The foundation that makes everything taste better

Great cooking starts with great stock. It’s the quiet hero behind rich soups, glossy sauces, and deep flavour — and it’s one of the simplest things you can make at home.

I always say: if you can boil water, you can make stock.
The difference is learning how to keep it clean, clear and full of flavour (without additives and without drama).

A good chicken stock is the heart of great cooking — the difference between a dish that’s flat and one that sings with depth and comfort. In this tutorial, I’ll walk you through my tried-and-true method, developed over decades in professional kitchens, to help you create a beautiful, clear stock full of flavour and body.

What you’ll learn in this tutorial
  • How to pull maximum flavour from bones and veg
  • The simple tricks for clear stock (no cloudy soup water here)
  • How to make it stovetop or pressure cooker
  • How to use veg trimmings and leftover roast chicken bones (less waste, more value)
  • How to store and freeze it so you’ve always got “liquid gold” ready to go

Method

Roast the Chicken Frames

  1. Place the chicken frames, wings and necks into the Ninja cooking pot.
  2. Select Air Fry/Air Crisp mode at 200°C and cook for approximately 15–20 minutes, turning the bones occasionally, until they are deeply golden.
  3. Colour is important at this stage. Roasting the bones develops the deeper, richer flavour and colour of the finished stock.

Add the Vegetables

  1. Add the roughly chopped onion, carrot and celery to the roasted chicken bones.
  2. Continue cooking on Air Fry/Air Crisp mode for approximately 8–10 minutes, stirring or turning the ingredients partway through, until the vegetables begin to soften and colour around the edges.
  3. Do not allow the vegetables or bones to burn, as this will introduce bitterness into the stock.

Pressure Cook the Stock

  1. Add the bay leaf, parsley stalks, thyme and whole peppercorns.
  2. Pour in enough cold water to cover the bones and vegetables, without exceeding the Ninja’s maximum pressure-cooking fill line.
  3. Fit the pressure-cooking lid, ensure the pressure-release valve is in the sealed position and select Pressure Cook on high for approximately 45 minutes.
  4. Once cooking is complete, allow the pressure to release naturally for at least 15 minutes before carefully releasing any remaining pressure.

Strain and Cool

  1. Carefully remove the larger bones and vegetables, then strain the stock through a fine sieve into a clean container.
  2. Allow the liquid to drain naturally without pressing heavily on the bones and vegetables, as this may force impurities into the stock.
  3. Use immediately, or cool quickly before covering and transferring it to the refrigerator or freezer.
  4. Once refrigerated, any fat will rise and set on the surface. Remove as much or as little as required before using.

Chef Ian’s Tip

Do not skip the Air Fry stage. Pressure cooking extracts flavour efficiently, but roasting the chicken frames and vegetables first is what develops the stock’s deeper colour and rich roasted character.

Alternative Method(s)

  • For an extra-rich flavour, roast your chicken bones before simmering — it adds colour, complexity, and a subtle caramel note that elevates any dish.
  • Cold water start: better extraction, cleaner flavour.
  • Gentle simmer only: boiling makes stock cloudy and can taste “muddy.”
  • Don’t stir it like soup: let it do its thing.
  • Skim early: that’s where clarity comes from.
  • Don’t salt your stock: season the dish you use it in (stock reduces, salt concentrates).
  • Use trimmings: celery leaves, herb stalks, carrot ends — all good (just avoid bitter brassica scraps like lots of broccoli/cauli).
"Once you make your own stock you will never use store bought again."

Skill Focus

  • How to pull maximum flavour from bones and veg
  • The simple tricks for clear stock (no cloudy soup water here)
  • How to make it stovetop or pressure cooker
  • How to use veg trimmings and leftover roast chicken bones (less waste, more value)
  • How to store and freeze it so you’ve always got “liquid gold” ready to go

Chef Ian's Tips

Oven & Stovetop Method

  1. Preheat the oven to 200°C.
  2. Arrange the chicken frames, wings and necks in a single layer in a large roasting tray.
  3. Roast for approximately 25–30 minutes, turning once, until the bones are well browned but not burnt.
  4. Add the roughly chopped onion, carrot and celery to the roasting tray. Continue roasting for another 15–20 minutes, or until the vegetables are golden around the edges.
  5. Transfer the roasted bones and vegetables to a large stockpot.
  6. Pour a little cold water into the hot roasting tray and scrape up the caramelised pieces from the base. Add this liquid to the stockpot—these browned cooking juices contain plenty of flavour.
  7. Add the bay leaf, parsley stalks, thyme and peppercorns.
  8. Pour in enough cold water to cover the bones by approximately 3–5 cm.
  9. Bring the stock slowly towards simmering point. Skim away any foam or impurities that rise to the surface.
  10. Reduce the heat and maintain a very gentle simmer for approximately 3–4 hours. Do not allow the stock to boil rapidly.
  11. Add a little more water during cooking only if the bones become exposed.
  12. Strain the finished stock through a fine sieve without pressing heavily on the bones and vegetables.
  13. Use immediately or cool quickly before refrigerating or freezing.

Chef Ian’s Tip

The roasting stage is what gives this chicken stock its deeper colour and richer flavour. Do not rush it, but do not burn the bones or vegetables—anything blackened will introduce bitterness. Deglazing the roasting tray ensures all that caramelised flavour makes its way into the stock.

Make-ahead Option(s)

Chicken stock is ideal for making ahead and keeping in useful portions for future recipes. The most important step is cooling it quickly and safely after cooking.

Cooling the Stock

Once cooked, strain the stock and discard the bones, vegetables and aromatics. Do not leave a large, deep pot of hot stock sitting on the bench to cool slowly.

Divide it between several shallow containers, or place the pot in a sink or larger bowl filled with iced water. Stir the stock occasionally to help release the heat, taking care not to introduce water from the ice bath.

Refrigerate it promptly once the initial heat has reduced. Food Standards Australia New Zealand recommends cooling cooked food from 60°C to 21°C within two hours, then to 5°C or colder within a further four hours. Food Standards Australia New Zealand

Refrigerating

Cover the cooled stock and store it in the refrigerator for up to 3–4 days.

As the stock chills, the fat will rise and set on the surface. This can be lifted away easily before using, although a small amount may be retained if you would like the additional flavour.

A well-made stock may set like soft jelly in the refrigerator. This is a good sign—it means the bones have released natural collagen. It will return to liquid as soon as it is heated.

Freezing

Freeze the stock in quantities that suit the way you cook:

  • 500 ml or 1-litre containers for soups and sauces
  • One-cup portions for risotto, casseroles and pan sauces
  • Ice-cube trays for adding small amounts to gravies, stir-fries and reductions

Leave a little space at the top of rigid containers because the stock will expand as it freezes. Once frozen, transfer stock cubes to a labelled freezer bag or container.

For the best flavour and quality, use frozen chicken stock within approximately three months.

Thawing & Reheating

Thaw frozen stock overnight in the refrigerator, reheat it gently from frozen in a saucepan, or add a frozen portion directly to a recipe. Bring it rapidly to a thorough simmer before using.

Chef Ian’s Tip

Label each container with the type of stock, quantity and date. Freezing it in practical recipe-sized portions means you only defrost what you need—and good homemade stock is always ready to bring depth to the next dish.

Variations

Turn it into an Asian Master Stock

If you want that next-level “everything tastes incredible” base, add:

  • star anise
  • lemongrass
  • ginger
  • coriander

That’s a brilliant foundation for noodles, dumplings, ramen-ish bowls, or braises.

FAQs

Why bother making your own?

Because once you’ve got proper stock in the freezer, weeknight cooking becomes easier:

  • soups and noodle bowls taste like you tried harder than you did
  • risotto gets depth without extra ingredients
  • sauces get that glossy, restaurant finish
  • and you control what’s in it (no weird additives)

Ingredients

Makes approximately 1.5–2 litres

  • 1–1.5 kg raw chicken bones, frames, wings and neck - or the bones from approximately 2 roast chickens
  • 1 large brown onion, roughly chopped
  • 1 medium carrot, roughly chopped
  • 1 celery stalk, roughly chopped
  • 1 bay leaf
  • 3–4 parsley stalks
  • 2 sprigs fresh thyme
  • 8–10 whole black peppercorns
  • Approximately 2.5 litres cold wate - or enough to cover the bones by 3–5 cm

Equipment

  • A large stockpot or pressure cooker
    (I highly recommend the Ninja Foodi 11-in-1 for ease.)
  • Fine strainer or muslin cloth
  • Airtight containers for storing/freezing

A Few Important Notes

The bones determine the water: The exact volume will depend on the size and shape of the pot. Cover the bones without drowning them; too much water produces a weak stock.

Wings and necks add body: These contain connective tissue and collagen, which give the finished stock more flavour and a gently gelatinous texture when chilled.

Keep the vegetables in balance: Too much carrot can make the stock sweet, while excessive celery can dominate its flavour. The chicken should remain the hero.

Do not add salt: Stock is often reduced or added to another recipe. Salting it now may make the final dish overly salty. Season the completed dish instead.

Raw and roasted bones produce different results: Raw bones create a lighter, more delicate chicken stock. Bones from a roast chicken will produce a deeper colour and more roasted flavour. Remove any stuffing, gravy and heavily seasoned or burnt pieces before using the carcass