
Boiling an egg sounds simple… until it isn’t.
Rubbery whites. Chalky yolks. Shells that won’t peel.
This is where small technique changes everything.
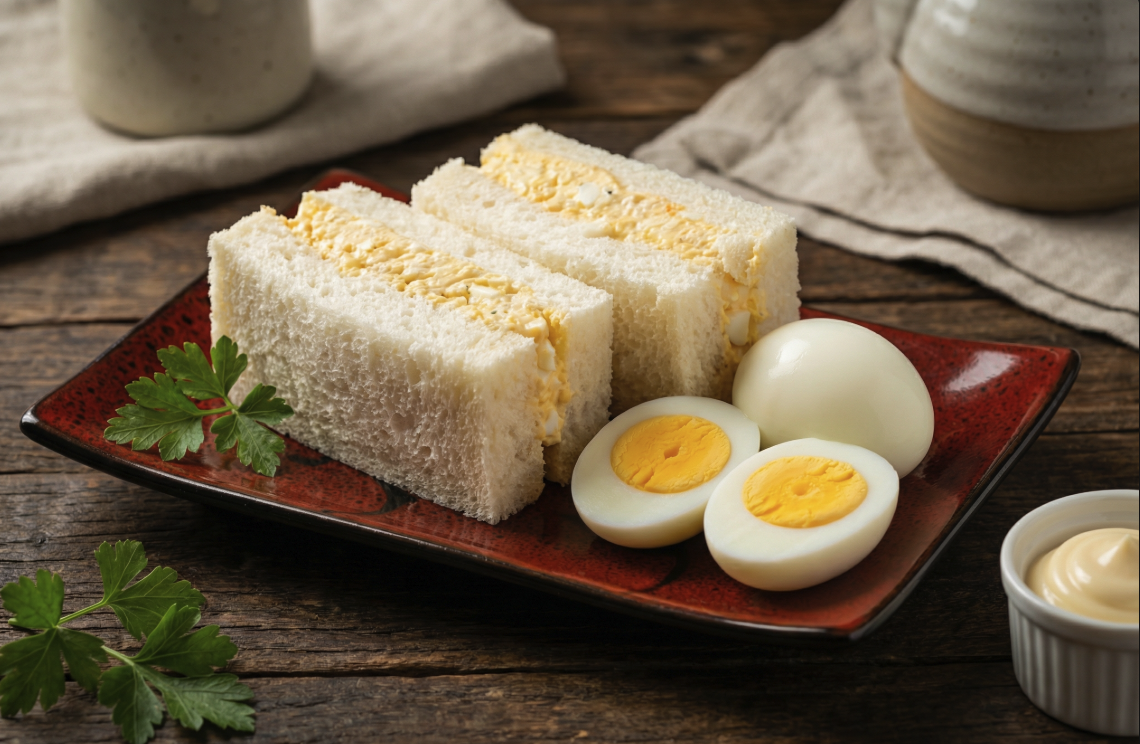
In this Kitchen 101, Chef Ian walks you through a foolproof method for boiling eggs — then shows you how to turn them into something special… a Japanese-inspired tamago sando.
The tamago sando — a simple egg sandwich done exceptionally well.
“Found in every convenience store… and the 7-Eleven version was hard to beat.”
👉 Chef’s Tip:
Don’t chase the boil again — we’re about control, not chaos.
👉 Stops cooking instantly and improves peeling
👉 Chef’s Tip:
If shells stick badly, your eggs are too fresh
(Save fresh eggs for poaching & scrambling)
Steaming is a genuine alternative, and a dedicated egg cooker may help someone who finds handling boiling water difficult.
Place the eggs in a steamer basket over simmering water and cover with a lid. Steam until they reach your preferred level of doneness, then transfer them immediately to iced water to stop the cooking.
Steaming can produce a result similar to boiling and may also make the eggs easier to peel. Timing will vary depending on the egg size, starting temperature and steamer.
A dedicated egg cooker can be helpful when preparing eggs regularly or for anyone who prefers not to handle a saucepan of boiling water. Follow the appliance instructions carefully, as the amount of water added usually determines whether the eggs are soft, medium or hard cooked.
For predictable results and complete control over the timing, Chef Ian recommends the traditional saucepan method. Never attempt to boil or reheat a whole egg in its shell in the microwave - steam can build inside and cause it to explode.
Simple food… done properly.
That’s the difference.
Master something as basic as a boiled egg - and you’ve already taken a step toward cooking with confidence. Turn it into a Japanese popular sandwich.
This dish proves the point perfectly:
👉 It’s not technique-heavy
👉 It’s detail-heavy
Small things done properly = big difference on the plate
Remove the crusts and cut the tamago sando neatly in half—diagonally for a familiar sandwich presentation or straight through the centre for the traditional Japanese-style look.
Arrange the two halves slightly overlapping or standing with the cut sides facing upwards so the creamy egg filling is visible. Wipe away any filling from the edges and serve on a simple plate or wooden board.
Avoid excessive garnish; the appeal of a tamago sando lies in its soft white bread, generous golden filling and beautifully clean presentation.
Use a sharp serrated or sharp knife and a gentle sawing action so you do not compress the bread or force the filling out. Wipe the blade between cuts for clean, café-style edges.
The tamago sando can be assembled several hours ahead and refrigerated before serving. In fact, a short resting time helps the filling settle into the bread, holds the sandwich together and creates a neater presentation when cut.
Once assembled, wrap the sandwich firmly - but not so tightly that the bread becomes compressed - in reusable food wrap or place it in an airtight container. Refrigerate for at least 30 minutes before trimming the crusts and cutting.
For the freshest bread and best texture, prepare and serve the sandwich on the same day. Keep it refrigerated until shortly before serving, particularly because the filling contains cooked egg and mayonnaise.
Chill the sandwich before cutting rather than trimming and cutting it immediately after assembly. The cold filling becomes more stable and is less likely to squeeze out, giving you clean edges and an even layer of egg in every half. Use a sharp, clean knife and wipe the blade between cuts.